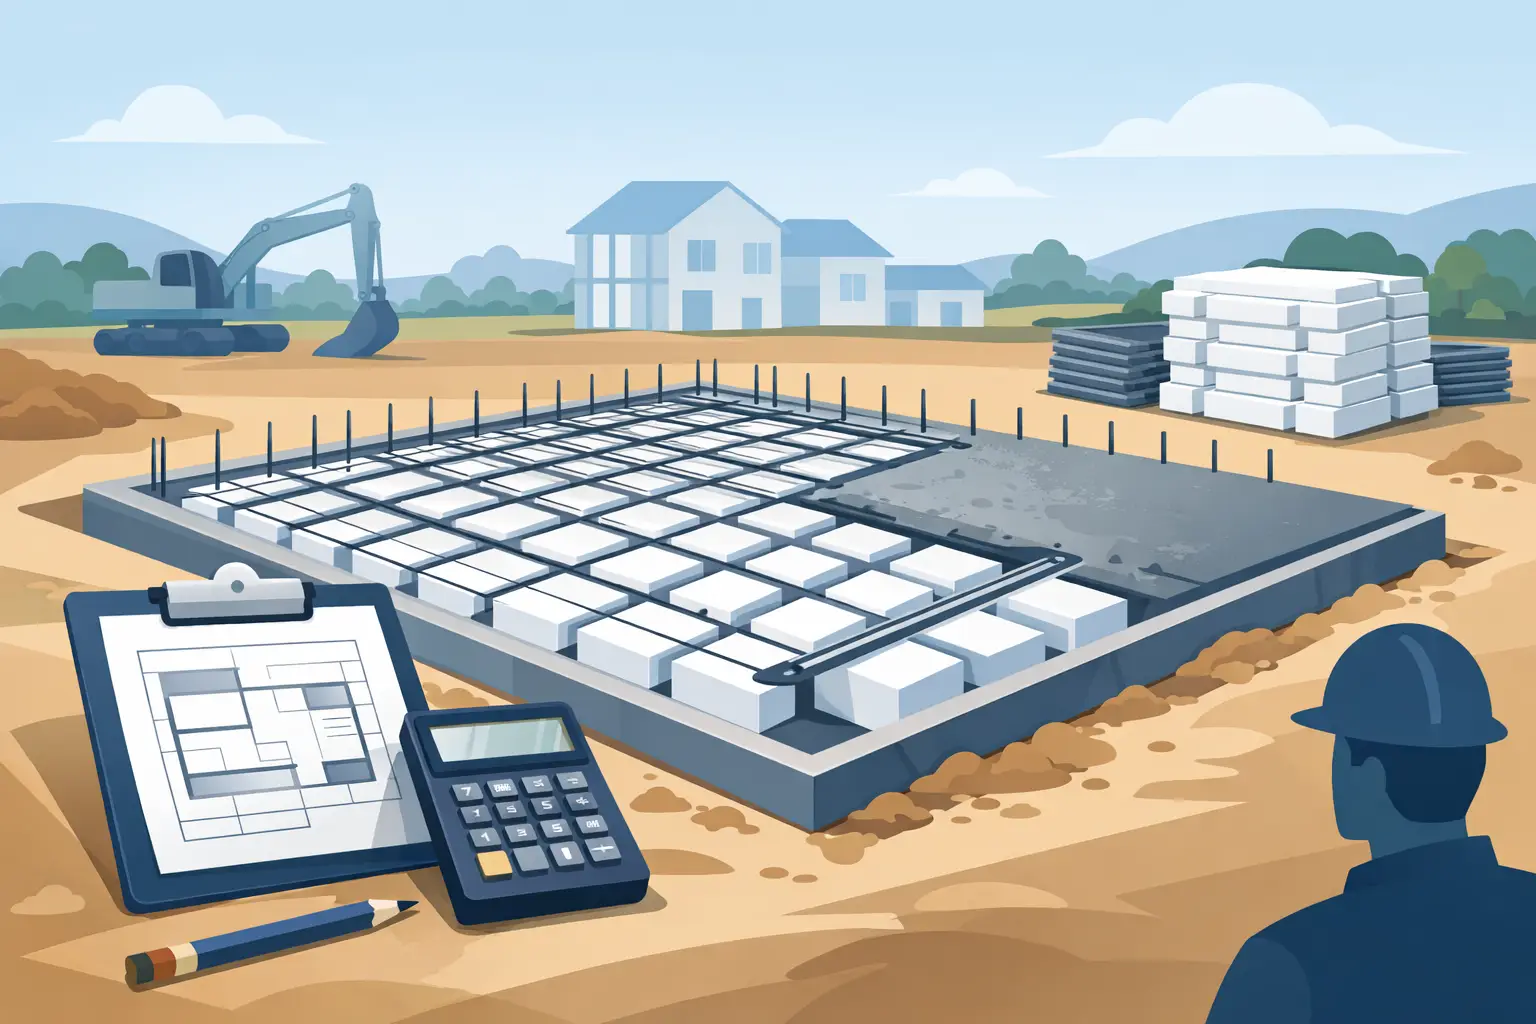
A waffle pod take-off can look straightforward until the slab plan includes stepped edges, internal beams, penetrations and an uneven set-out. Knowing how to estimate waffle pods properly is less about dividing a slab area by a pod size and more about reading the engineered layout before materials are ordered.
The key rule is simple: estimate the pods from the area available for pods, not from the total building footprint. The structural drawings remain the authority for beam locations, slab depth, reinforcing and pod type. Your estimate is a procurement and planning tool, not a substitute for the engineer’s design.
Start with the current engineered slab plan
Work from the latest structural slab plan and confirm the revision before measuring anything. Architectural plans are useful for checking the building footprint, but they may not show every thickened beam, step-down, rebate or structural change that affects the pod field.
Identify the external slab dimensions first, then mark every area where a pod cannot sit. This usually includes perimeter edge beams, internal beams, garage or patio set-downs, service trenches, strip footings, pads and penetrations. A pod layout should follow the engineer’s set-out and the product supplier’s installation requirements, particularly where ribs, beam widths and clearances are involved.
Do not assume a simple rectangle means a simple count. A nominal 12 m by 8 m slab may have returns, nib walls, alfresco changes or beam intersections that reduce the usable pod area. Measure each zone separately where the shape changes.
Confirm the pod module before calculating
Use the supplier’s stated coverage dimensions for the pod being specified. The outside dimensions of a pod do not always tell you the actual layout module once rib spacing and the recommended set-out are considered.
Record the pod length, width and depth, along with the pack quantity. The depth matters for confirming the specified product, while the length and width are used for the take-off. If the drawings nominate more than one pod depth or slab system, keep them as separate line items.
How to estimate waffle pods from the usable pod area
Start with the gross slab footprint:
Gross slab area = overall slab length x overall slab width
Then deduct all beam and non-pod areas. For a straightforward slab with a continuous perimeter beam, calculate the internal pod zone by deducting the beam width from both sides of each dimension:
Pod zone length = overall length - left edge beam - right edge beam
Pod zone width = overall width - front edge beam - rear edge beam
Usable pod area = pod zone length x pod zone width
From there, divide the usable pod area by the supplier’s nominated pod coverage area:
Indicative pod quantity = usable pod area / coverage area per pod
That gives you a starting number. It is not the order quantity until you have checked the grid against the actual plan.
For example, assume a rectangular slab is 12 m by 8 m with 300 mm perimeter beams. The usable pod zone is 11.4 m by 7.4 m, giving 84.36 m². If the selected pod module covers 1.188 m², the area calculation gives approximately 71 pods.
Now set the pods out in rows and columns. The grid may require more than 71 whole pods, with cut pods at the perimeter. A practical layout could need 77 pods before allowing for cuts or site damage. That is why the area calculation is a check, not the finished take-off.
Deduct internal beams and excluded zones separately
Internal beams need to be removed from the pod area rather than treated as an afterthought. Calculate each beam as its length multiplied by its width, then deduct it from the relevant pod zone. Where beams cross, avoid deducting the overlap twice.
Do the same for penetrations and slab zones with a different system. A large service penetration, for example, might remove only a small number of pods, but it can disrupt several rows and create additional offcuts. The layout effect can be greater than the area suggests.
For irregular slabs, break the plan into simple rectangles. Calculate each rectangle, deduct its local exclusions, then add the results together. This is faster and less error-prone than trying to estimate an L-shape or stepped footprint as one large area.
Allow for pod cuts, waste and pack quantities
A clean rectangular slab with a well-matched module may need very little allowance. A slab with angles, curves, numerous penetrations or narrow returns will need more. The right allowance depends on whether cut pieces can be reused elsewhere in the layout and how the supplier packs the pods.
Do not automatically apply a blanket waste percentage to every job. First complete the row-and-column set-out, including the perimeter cuts. Then add a sensible allowance for damaged pods, unusable offcuts and changes made before the pour. On a simple slab, this may be modest. On a complicated footprint, the final quantity may be driven more by cuts than by the raw square metre rate.
Round the final quantity to full packs only after checking the supplier’s pack size. Ordering a nominal count that falls between packs can create unnecessary cost or leave the crew short on the day. It is also worth confirming lead times, delivery access and where packs will sit on site. Pods are light, but they take up space and can become damaged or windblown if stored poorly.
Estimate concrete separately from the pod count
Pod quantity does not directly give you the concrete volume. The concrete estimate must follow the slab engineer’s schedule, including topping thickness, rib dimensions, edge beams, internal beams, thickenings and any additional pads or strips.
A common error is to calculate the gross slab area multiplied by the topping thickness and assume that is the total volume. That excludes the concrete in the ribs and beams. The opposite error is to calculate the full gross slab depth without allowing for the void created by the pods. Both approaches can lead to an inaccurate order.
The most reliable method is to use the concrete volume nominated on the structural drawings or supplied by the slab designer. If you need to independently check it, calculate each component separately: topping, ribs, perimeter beams, internal beams and local thickenings. Then compare the result with the engineered schedule and clarify any difference before booking the truck.
Keep a controlled allowance for normal placing losses, but do not use an allowance to cover an uncertain calculation. If the number is materially different from the plan schedule, recheck the dimensions, beam widths and slab revision first.
Check mesh, vapour barrier and accessories at the same time
A pod estimate is usually one part of a slab materials take-off. While the plan is open, measure the mesh area, including specified laps and any separate reinforcing zones. Check the vapour barrier area with enough excess for laps, edge turn-ups and damage allowance. Chairs, bar chairs, tie wire, reinforcing bars, trench mesh and penetrations should be counted from the engineering details, not guessed from the pod total.
This is also the right time to note details that affect the pour sequence: pump access, construction joints, hold-downs, starter bars, service rough-in and set-downs. A complete take-off gives the site team a usable record rather than a pod number written on the corner of a plan.
Use a repeatable site check before ordering
Before placing the order, run the take-off through three checks. Confirm the drawing revision, compare the calculated grid with the actual pod layout, and check that all beam zones have been excluded. Then verify the product specification against the engineer’s notes. Similar-looking pod products can have different depths, sizes and installation requirements.
Save the calculation with the job name, drawing number and revision date. If the plan changes, duplicate the record and revise it rather than overwriting the original. Builders Calculator can help keep these job calculations and notes together, making it easier to revisit the quantity when a supervisor, supplier or concreter asks how the number was reached.
A good waffle pod estimate should be traceable from the order quantity back to the plan. When the crew can see the pod zones, cuts, beams and assumptions clearly, the slab preparation starts with fewer surprises and a more reliable material count.